Creating Web Application using Maven in IntelliJ
This tutorial will teach you about creating a web application using maven in IntelliJ. This assumes that you have maven installed in your local machine. If not, check this tutorial of installing maven on windows.
For this example, we will be using Java 8 and IntelliJ Community Edition Version 2020.1.1.
Start by creating a new project in IntelliJ
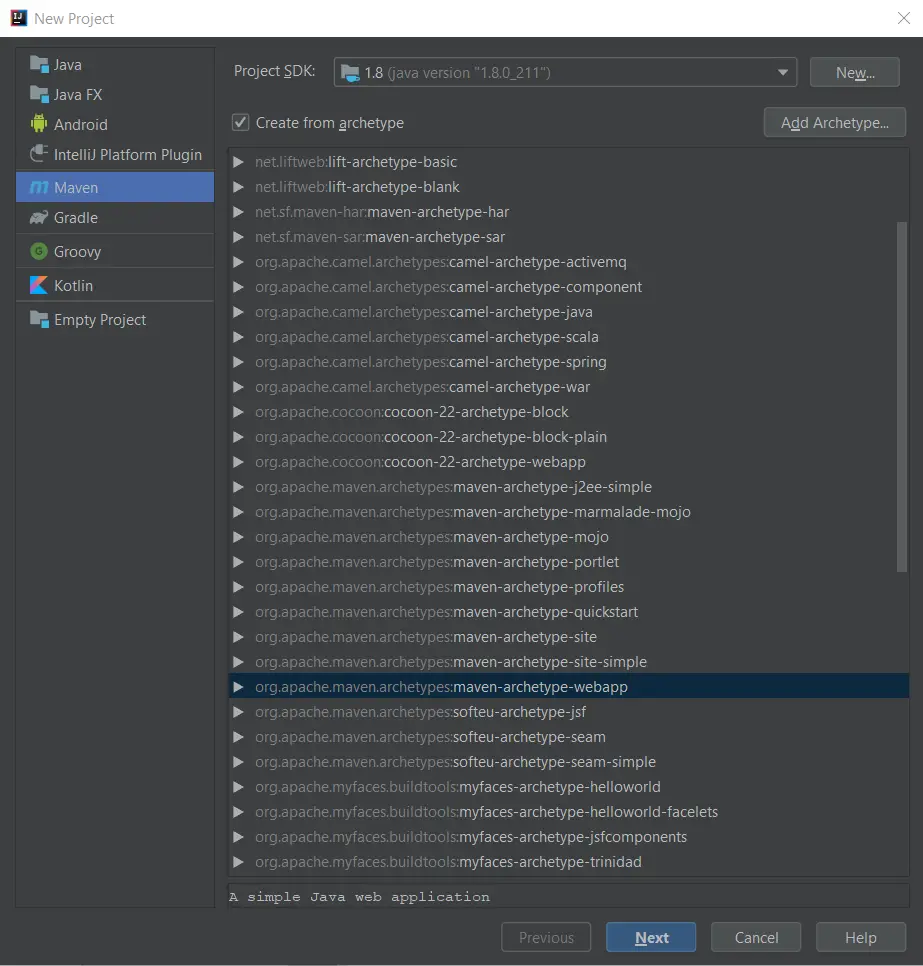
Upon opening IntelliJ, click Create New Project. On the left side, click Maven. Select the Project SDK or click New to add a new SDK and browse your JDK folder location.
You can tick Create from archetype and choose an archetype template to automatically configure your pom.xml or you can just uncheck it and create your own pom.xml later. For now, let’s tick it and choose org.apache.maven.archetypes:maven-archetype-webapp.
Click Next. Populate the GroupId and ArtifactId. Normally, the GroupId is the company name while the ArtifactId is the project name. Click Next to continue creating the project.

In the next window, you will be presented with the Maven installation that you wanted to use. By default, IntelliJ comes with a Bundled Maven installation. You can use this bundled maven or choose your own maven installation. Click Next after selecting your choice.

Confirm the project name and project location and click Finish.
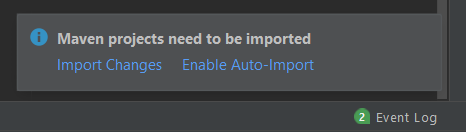
If a pop up shows and asking if you want to auto-import the maven dependencies, choose Enable Auto Import.
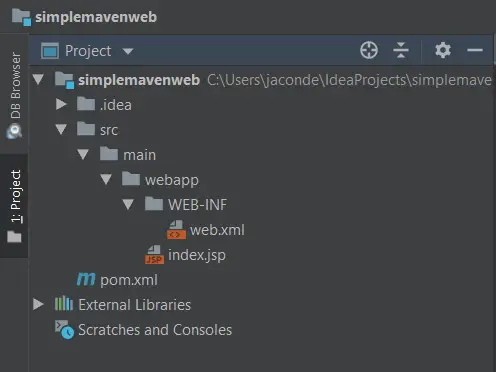
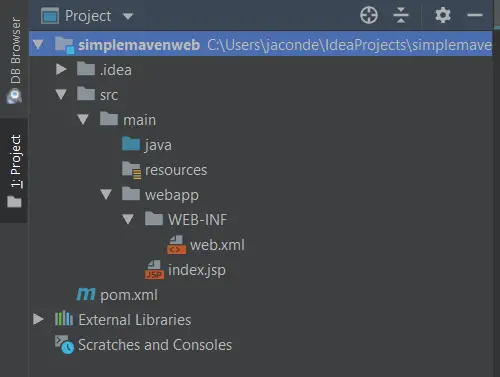
Once finished, you should see your project structure to something similar below. Click the Project tab on the left side to view your project hierarchy. In cased that this tab is not visible, you can show this by clicking the double-square icon located at the lower-left corner of IntelliJ.
Create the Folder Structure
If IntelliJ didn’t create the java and resources folder for your project, then just add theses folders manually.
Right-click the main folder and select New > Directory.
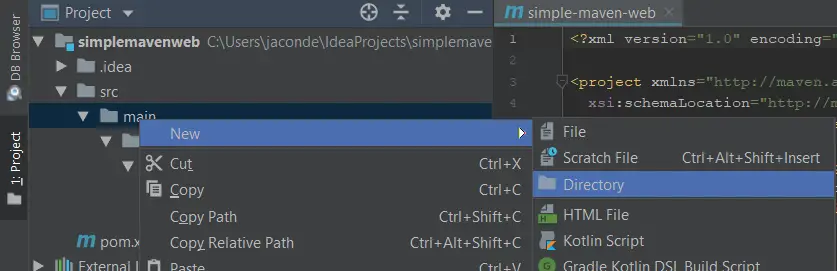
In the new directory pop up, type java and click OK. This folder will hold our java source codes. Do the same for the resources folder.
Your final folder structure should like similar to this:
Configure pom.xml
By default, since we created the application using an archetype, IntelliJ automatically adds the default configuration to run a web application. Let’s edit this XML and add our own configurations.
Open your pom.xml file. Locate the maven.compiler.source and maven.compiler.target and change the version to 1.8 since we wanted to use Java 8.
  <properties>
    <project.build.sourceEncoding>UTF-8</project.build.sourceEncoding>
    <maven.compiler.source>1.8</maven.compiler.source>
    <maven.compiler.target>1.8</maven.compiler.target>
  </properties>
Next, under the build section, we will add the jetty plugin. Jetty plugin will be our web app container like tomcat, jboss, glassfish, etc.
<plugins>
    <!-- Jetty Plugin. Default port is 8080 -->
    <plugin>
        <groupId>org.eclipse.jetty</groupId>
        <artifactId>jetty-maven-plugin</artifactId>
        <version>9.4.28.v20200408</version>
    </plugin>
</plugins>
The final pom.xml should be something similar to this
<?xml version="1.0" encoding="UTF-8"?>

<project xmlns="http://maven.apache.org/POM/4.0.0" xmlns:xsi="http://www.w3.org/2001/XMLSchema-instance"
         xsi:schemaLocation="http://maven.apache.org/POM/4.0.0 http://maven.apache.org/xsd/maven-4.0.0.xsd">
    <modelVersion>4.0.0</modelVersion>

    <groupId>com.javapointers</groupId>
    <artifactId>simple-maven-web</artifactId>
    <version>1.0-SNAPSHOT</version>
    <packaging>war</packaging>

    <name>simple-maven-web Maven Webapp</name>
    <!-- FIXME change it to the project's website -->
    <url>https://javapointers.com</url>

    <properties>
        <project.build.sourceEncoding>UTF-8</project.build.sourceEncoding>
        <maven.compiler.source>1.8</maven.compiler.source>
        <maven.compiler.target>1.8</maven.compiler.target>
    </properties>

    <dependencies>
        <dependency>
            <groupId>junit</groupId>
            <artifactId>junit</artifactId>
            <version>4.11</version>
            <scope>test</scope>
        </dependency>
    </dependencies>

    <build>
        <plugins>
            <!-- Jetty Plugin. Default port is 8080 -->
            <plugin>
                <groupId>org.eclipse.jetty</groupId>
                <artifactId>jetty-maven-plugin</artifactId>
                <version>9.4.28.v20200408</version>
            </plugin>
        </plugins>

        <finalName>simple-maven-web</finalName>

        <pluginManagement><!-- lock down plugins versions to avoid using Maven defaults (may be moved to parent pom) -->
            <plugins>
                <plugin>
                    <artifactId>maven-clean-plugin</artifactId>
                    <version>3.1.0</version>
                </plugin>
                <!-- see http://maven.apache.org/ref/current/maven-core/default-bindings.html#Plugin_bindings_for_war_packaging -->
                <plugin>
                    <artifactId>maven-resources-plugin</artifactId>
                    <version>3.0.2</version>
                </plugin>
                <plugin>
                    <artifactId>maven-compiler-plugin</artifactId>
                    <version>3.8.0</version>
                </plugin>
                <plugin>
                    <artifactId>maven-surefire-plugin</artifactId>
                    <version>2.22.1</version>
                </plugin>
                <plugin>
                    <artifactId>maven-war-plugin</artifactId>
                    <version>3.2.2</version>
                </plugin>
                <plugin>
                    <artifactId>maven-install-plugin</artifactId>
                    <version>2.5.2</version>
                </plugin>
                <plugin>
                    <artifactId>maven-deploy-plugin</artifactId>
                    <version>2.8.2</version>
                </plugin>
            </plugins>
        </pluginManagement>
    </build>
</project>
Deploying/Running the Project
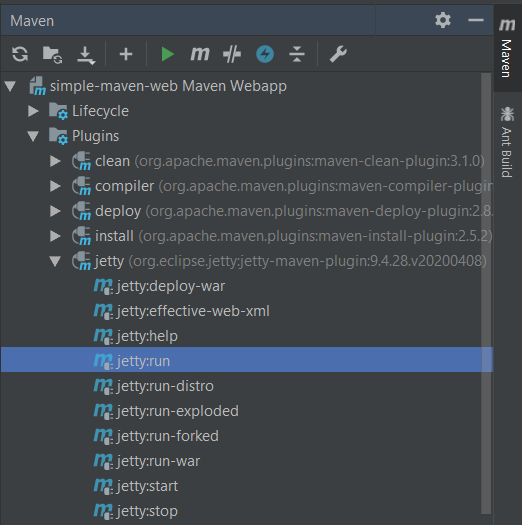
Expand the Maven tab. Under Maven Projects, expand your web app project, click plugins. Expand the Jetty plugin and double click jetty:run.
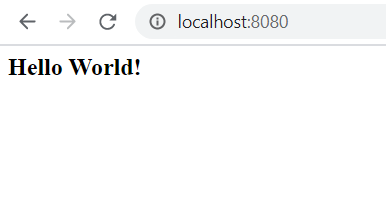
Check the console in IntelliJ and wait for the line “Started Jetty Server” to be printed. Open your browser and go to localhost:8080. This will show your simple web application in Maven.
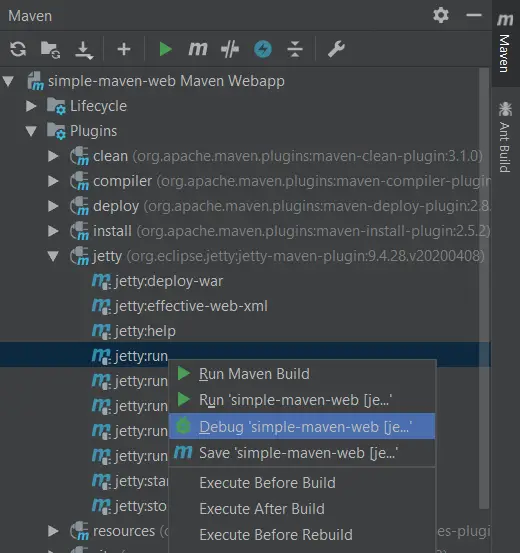
To debug, right-click jetty:run and click debug the project. This will also deploy your project plus debugging capabilities.
If for some reason you are getting an error Bad temp directory from Jetty, try to clean-install first your web app under Lifecycle in Maven Tabs and Run Jetty again.
You can download the source code here.