How to install a Single Node Hadoop in Linux
In this post, we will create or install a single node Hadoop in a Linux machine. We will be using a Virtual Box CentOS machine and you can follow our guide here on how to install CentOS on Virtual Box. A requirement for Hadoop is that your machine should have Java installed. Read our article on how to install Java in RHEL or Linux machines if you haven’t done it yet.
We’ll divide this guide into three:
- Installing Hadoop
- Configuring Single Node Hadoop
- Testing Hadoop
Installing Hadoop
Firstly, we need to download Hadoop. Visit https://hadoop.apache.org/releases.html and visit the binary download link. This will give you the nearest download location of Hadoop for your country.
Next, select an installation directory. In this guide, we will install it in /usr/local/hadoop so we’ll be creating a directory inside the /usr/local folder.
mkdir -p /usr/local/hadoop
Since we are using the /usr/local/ directory, we need to change the permission and own the Hadoop folder so that we don’t need to run sudo everytime. Run chown command substituting javapointers with your own username in Linux.
sudo chown javapointers:root /usr/local/hadoop
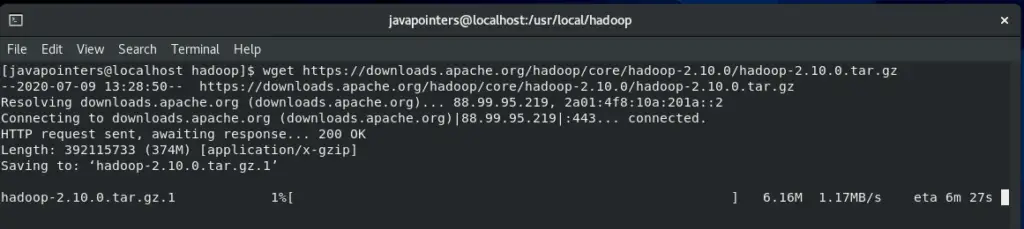
Then, download the Hadoop tarball file using wget. Change the link to whatever link that was given to you.
cd /usr/local/hadoop
wget https://downloads.apache.org/hadoop/core/hadoop-2.10.0/hadoop-2.10.0.tar.gz
After downloading Hadoop, extract it using tar command.
tar -zxvf hadoop-2.10.0.tar.gz
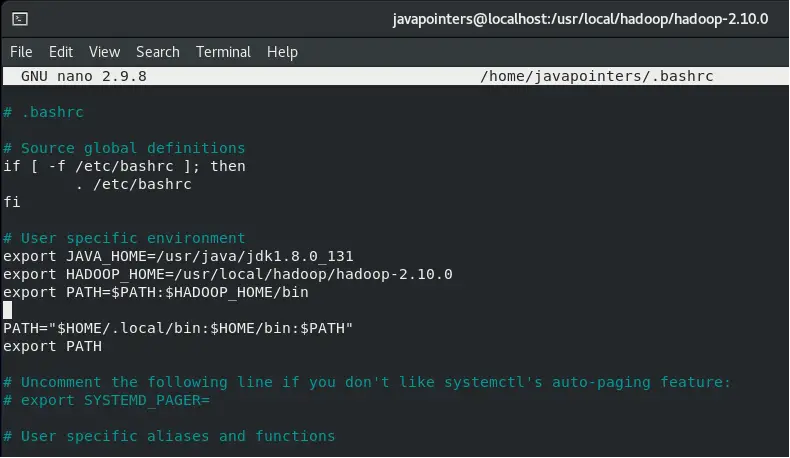
This will extract and create the folder hadoop-2.10.0 inside your /usr/local/hadoop directory. After extraction, we will add the environment variables in our bashrc file. I’m using nano as my text editor but you can use vi or any text editor you want.
nano ~/.bashrc
Then add the HADOOP_HOME with value equals to our installation directory. We will also add it in our PATH variables so that we can run Hadoop commands in any folder.
export HADOOP_HOME=/usr/local/hadoop/hadoop-2.10.0
export PATH=$PATH:$HADOOP_HOME/bin
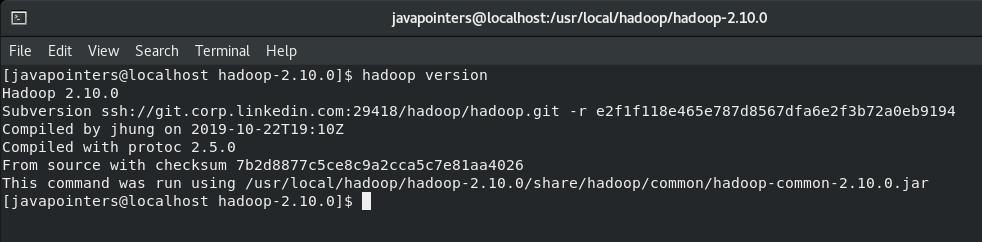
Then, load again the bashrc file and verify the installation by running hadoop version. Verify that you also have set correctly the Java home as well.
source ~/.bashrc

hadoop version
java -version
After verifying, we will now proceed to configuring our Single Node Hadoop environment.
Configuring Single Node Hadoop
We will be editing the following files to create a single node Hadoop in our Linux machine.
- core-site.xml
- hdfs-site.xml
- mapred-site.xml
- yarn-site.xml
These files can be found in $HADOOP_HOME/etc/hadoop. Let’s change directory first to that folder.
cd $HADOOP_HOME/etc/hadoop
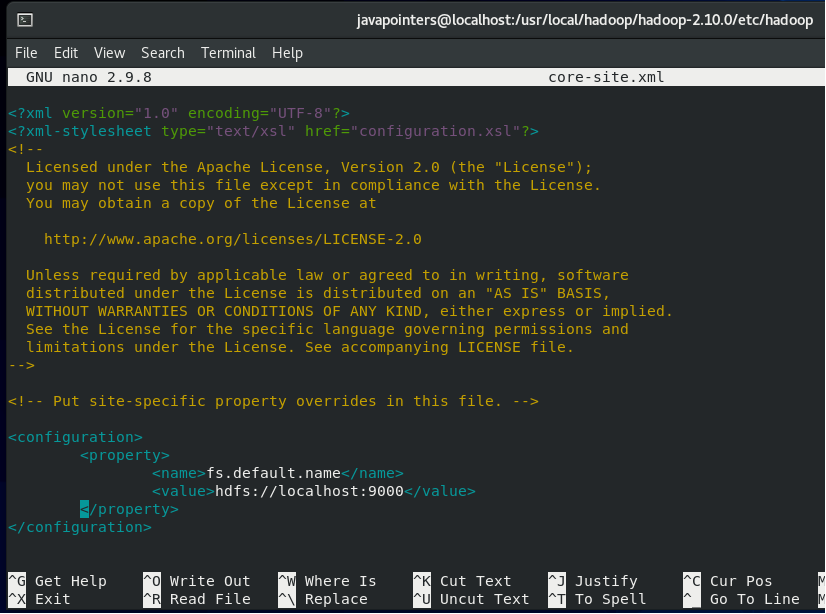
Let’s start by editing the core-site.xml by using any text editor that you want.
nano core-site.xml
Then, add the following lines inside the <configuration> element and save.
        <property>
                <name>fs.default.name</name>
                <value>hdfs://localhost:9000</value>
        </property>
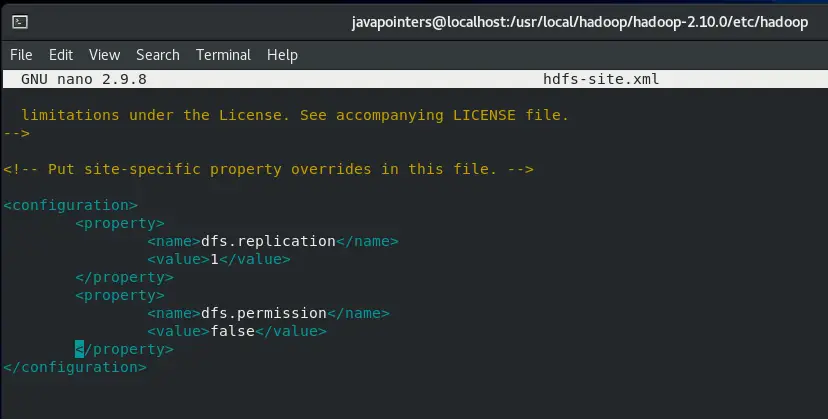
Next, edit hdfs-site.xml and add the following property. Since we are creating just a single node Hadoop, the replication will be only set to 1.
        <property>
                <name>dfs.replication</name>
                <value>1</value>
        </property>
        <property>
                <name>dfs.permission</name>
                <value>false</value>
        </property>
Next, edit the mapred-site.xml file. Currently mapred-site.xml is not existing and we will be creating it from the template.
cp mapred-site.xml.template mapred-site.xml
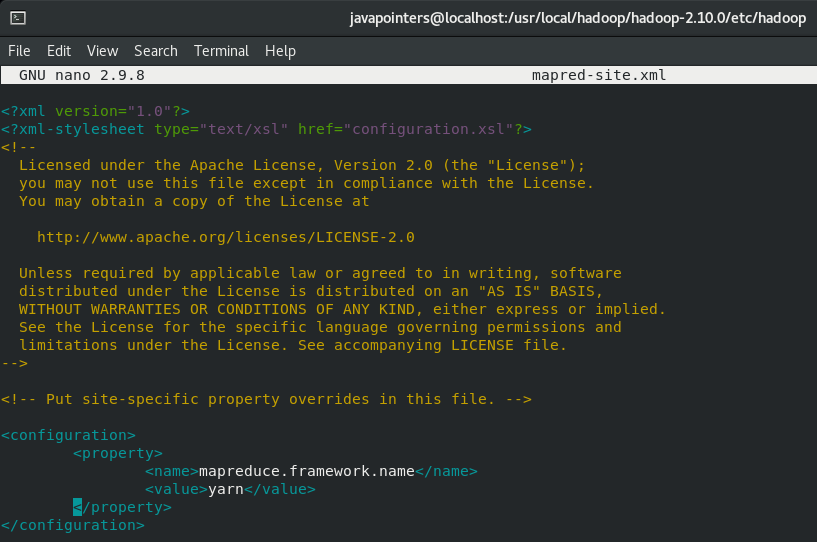
Then edit mapred-site.xml and add the following property:
        <property>
                <name>mapreduce.framework.name</name>
                <value>yarn</value>
        </property>
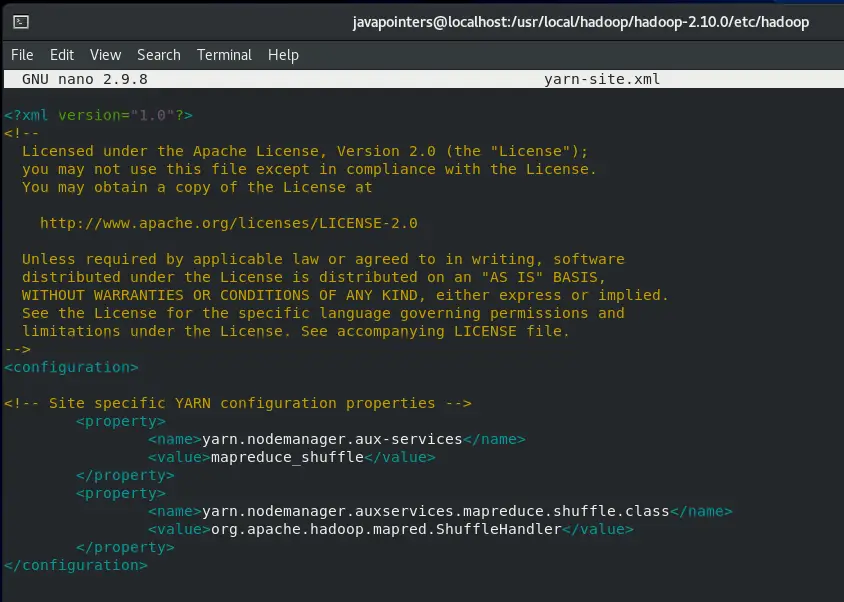
Lastly, edit the yarn-site.xml file and add the following property.
        <property>
                <name>yarn.nodemanager.aux-services</name>
                <value>mapreduce_shuffle</value>
        </property>
        <property>
                <name>yarn.nodemanager.auxservices.mapreduce.shuffle.class</name>
                <value>org.apache.hadoop.mapred.ShuffleHandler</value>
        </property>
After configuring those files, we can now proceed with testing our Hadoop environment.
Testing Single Node Hadoop
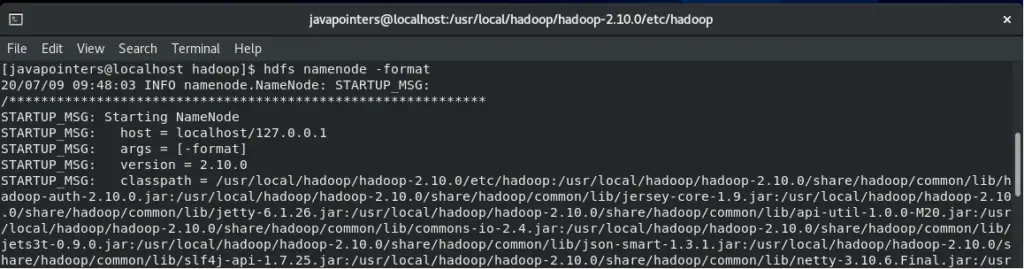
Before we start Hadoop, we need to first format the location where Hadoop will store the files. Take note that you will only format a new installation of Hadoop. Formatting an existing/running Hadoop will delete the data stored.
Run the command below to start the format.
hdfs namenode -format
Then, we can now start Hadoop. There are two script files that we need to run. First, let’s run start-dfs.sh script file. This might ask for your password.
$HADOOP_HOME/sbin/start-dfs.sh

Next, run the start-yarn.sh script file.
$HADOOP_HOME/sbin/start-yarn.sh

Finally, verify our Hadoop by checking it on UI. Visit http://localhost:50070
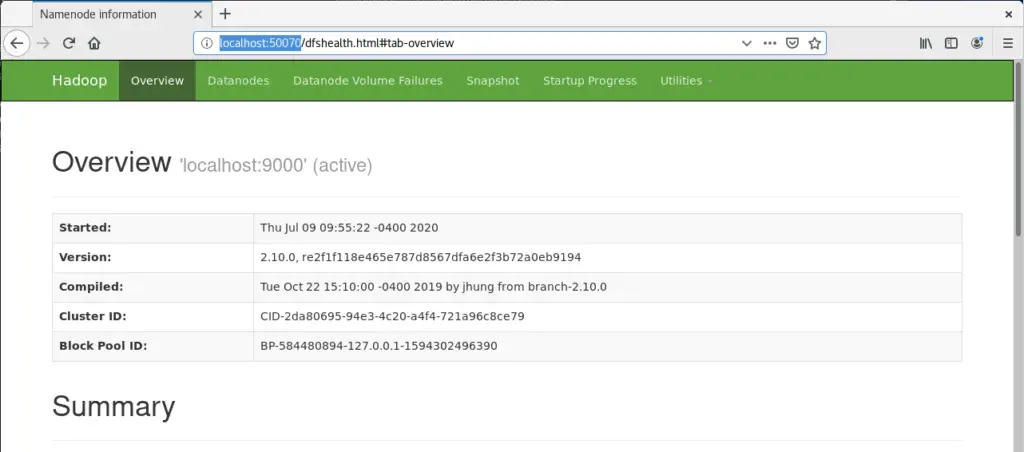
Browse to Utilities > Browse the file system to check your files. Currently it is empty as we haven’t add any files yet to our Hadoop environment.
And that’s it! We have successfully installed and created a single node Hadoop in our Linux machine. Share this page to help others to get started in Hadoop by creating a single node Hadoop cluster.