How to add Tomcat Server in NetBeans
In this tutorial, we will explain how to add tomcat server in netbeans. In this post, we are currently using NetBeans 8 and Apache Tomcat 8.0.5.
1.Download Apache Tomcat
Start by download the binary distribution of tomcat 8 by visiting the official tomcat download website. You can visit the website using this link. Under Binary Distributions, in Core, download the 64 bit Windows zip format or 32 bit if you are using 32 bit of windows. Or you can just click the link below to download Tomcat 8.0.5:
2. Extract Files
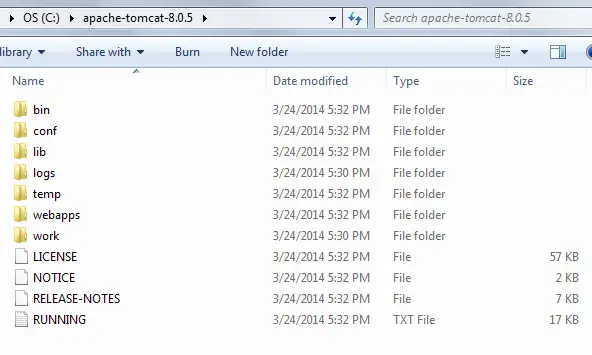
After finishing downloading, extract the files to somewhere you want, in our case, we extract it at C:/
3. Add Tomcat Server to NetBeans
Next, add your tomcat server in NetBeans. Open your NetBeans. Under Service tab, right click server and click Add Server. A pop up dialog should open. In the dialog, select Apache Tomcat as the server that will be added.
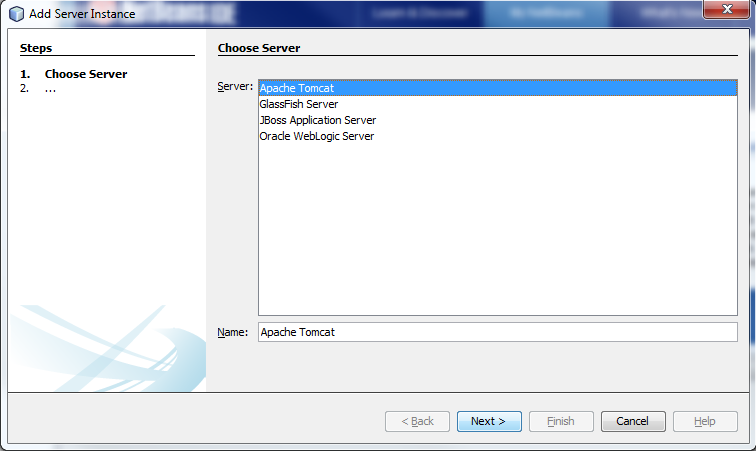
Next, browse to locate tomcat server eg. C:\apache-tomcat-8.0.5. Add a username and password for a manager role. This credentials will be used when logging in to your tomcat in browser. Click Finish.
4. Testing your Tomcat Server
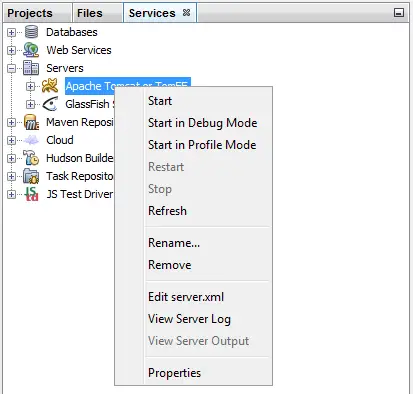
To test your tomcat server, in Services tab, expand Servers section. Right click apache tomcat and click Start.
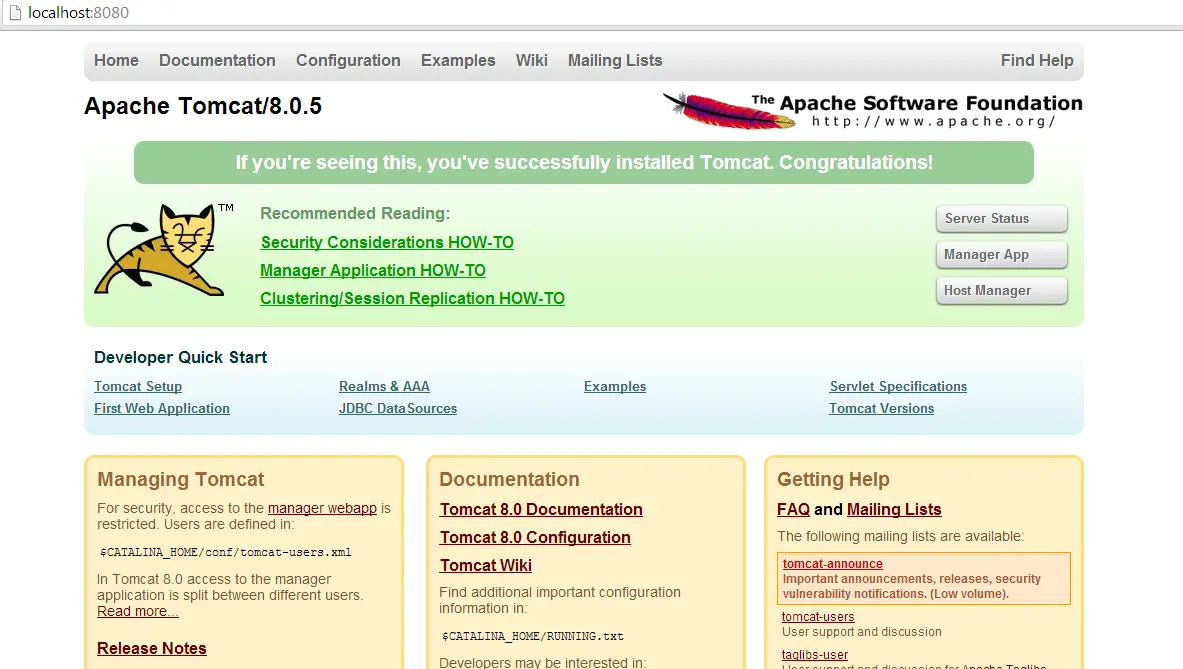
You can view the logs in the console tab. After successfully starting tomcat, in your web browser eg. Chrome, open up localhost:8080 which is the default port for tomcat. You should be able to see something like below. Done, you have successfully added tomcat in netbeans.