How to use Card Layout in Java
Previously, we talked about the Flow Layout, Border Layout, Grid Layout. Now we will talk about Card Layout in Java which is primarily used in switching between panels.
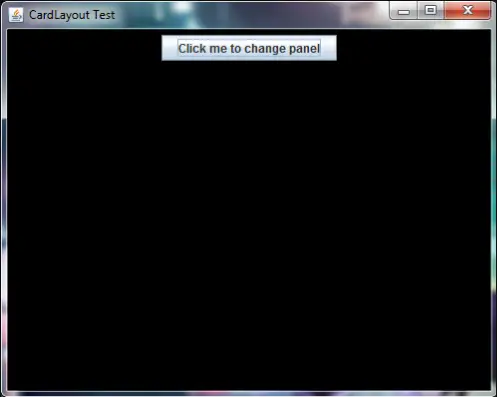
Panels are stored in a stack (like a stack of cards) and only one panel is visible at a time. The others are hidden. Here’s an example of a Card Layout.
Card Layout in Java Example
package com.javapointers.javase;

import java.awt.CardLayout;
import java.awt.Color;
import java.awt.event.ActionEvent;
import java.awt.event.ActionListener;
import javax.swing.JButton;
import javax.swing.JFrame;
import javax.swing.JPanel;

public class CardLayoutTest implements ActionListener {

    JFrame frame;
    JPanel pane1, pane2, pane3, cardPane;
    CardLayout card;

    public CardLayoutTest() {
        frame = new JFrame("CardLayout Test");
        frame.setDefaultCloseOperation(JFrame.EXIT_ON_CLOSE);
        frame.setSize(500, 400);
        pane1 = new JPanel();
        pane2 = new JPanel();
        pane3 = new JPanel();
        cardPane = new JPanel();

        pane1.setBackground(Color.BLACK);
        pane2.setBackground(Color.BLUE);
        pane3.setBackground(Color.GREEN);

        JButton button1 = new JButton("Click me to change panel");
        button1.addActionListener(this);
        pane1.add(button1);

        JButton button2 = new JButton("Click me to change panel");
        button2.addActionListener(this);
        pane2.add(button2);

        JButton button3 = new JButton("Click me to change panel");
        button3.addActionListener(this);
        pane3.add(button3);

        card = new CardLayout();

        cardPane.setLayout(card);
        cardPane.add(pane1, "First Pane");
        cardPane.add(pane2, "Second Pane");
        cardPane.add(pane3, "Third Pane");

        frame.add(cardPane);
        frame.setVisible(true);
    }
    @Override
    public void actionPerformed(ActionEvent e) {
        card.next(cardPane);
    }
    public static void main(String args[]) {
        CardLayoutTest test = new CardLayoutTest();
    }
}
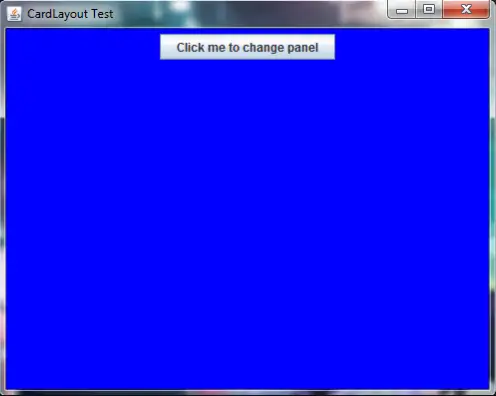
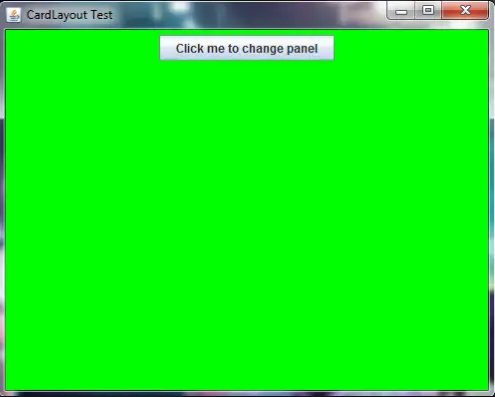
If we run our program, the output will be like below that will show the next panel when we click the button.
Explanation:
-
cardPane = new JPanel();
– We need to create an instance of JPanel. This panel will be the one holding other panels.
-
card = new CardLayout();
– Create a new instance of card layout and store it in a variable card.
-
cardPane.setLayout(card);
– Sets the layout of our cardPane to our card layout.
-
cardPane.add(pane1, "First Pane"); cardPane.add(pane2, "Second Pane"); cardPane.add(pane3, "Third Pane");
– Add our panels to the cardPane. Our cardPane now holds different panels. When adding a component, each component should have corresponding String text like for example, our pane1 has a corresponding text of “First Pane”.
-
card.next(cardPane);
– This method has been called inside the actionPerformed method. This means that when the user click the button, the cardPane will then hide the current panel and show the next panel. In our example, the cardPane will hide the black panel and show the blue, and will hide the blue and show the green and so on.
Next in our tutorial is the Grid Bag Layout Manager which is a more dynamic type of layout managers.