How to use Grid Layout in Java
We tackled about Flow Layout and Border Layout from our previous post. Next in line is the Grid Layout in Java.
Grid Layout placed its components by order of how it was added. First, the frame or the container that was set to grid layout will be sliced into equal sizes of cells, of row and columns. The first component that was added will then take the first cell, the second component to the second cell, and so on.
The construction of the Grid Layout is this:
GridLayout(int rows, int columns);
Java Grid Layout Example
package com.javapointers.javase;

import java.awt.GridLayout;
import javax.swing.JButton;
import javax.swing.JFrame;

public class GridLayoutTest {

    JFrame frame;

    public GridLayoutTest() {
        frame = new JFrame("GridLayout Test");
        frame.setSize(500, 400);

        //create new instance for gridlayout with 2 rows and 3 columns
        GridLayout layout = new GridLayout(2, 3);
        frame.setLayout(layout);
        frame.setDefaultCloseOperation(JFrame.EXIT_ON_CLOSE);

        frame.add(new JButton("Button 1"));
        frame.add(new JButton("Button 2"));
        frame.add(new JButton("Button 3"));
        frame.add(new JButton("Button 4"));
        frame.add(new JButton("Button 5"));
        frame.add(new JButton("Button 6"));

        frame.setVisible(true);
    }

    public static void main(String args[]) {
        GridLayoutTest test = new GridLayoutTest();
    }
}
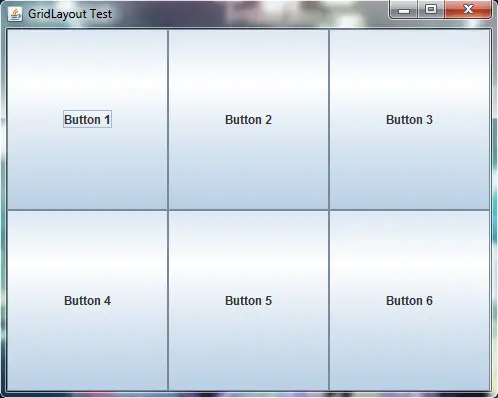
When we run the program, the UI will be like this:
The next tutorial will be about how to use Card Layout in Java.