Getting Started in Java
Here’s an article on how you can get started in Java.
In order to learn Java, you need the Java Development Kit and IDE such as NetBeans, Eclipse, or IntelliJ. JDK contains basic classes needed in developing java applications. NetBeans or Eclipse are IDEs that will aid you in creating applications. In this tutorial, we will use NetBeans instead of Eclipse but it’s up to you what IDE you want to use.
You can download the NetBeans IDE Bundle which includes the JDK so you do not need to download and install one by one. Download it here and choose to download NetBeans with JDK. Run and finish the installation.
Creating a New Project
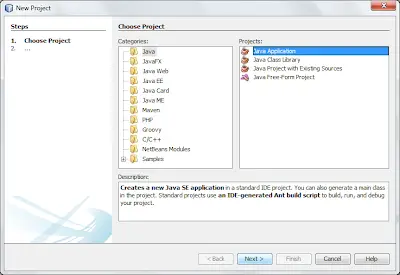
Open your NetBeans and go to File > New Project. In the New Project dialog, choose Java in categories and Java Application in Projects. Click Next.
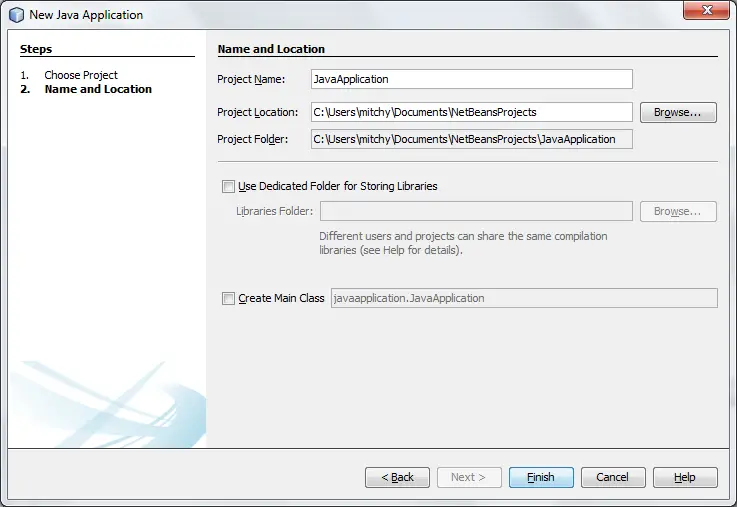
Next, type your desired project name. The project location has been preconfigured to the default location. Change it if you want to save your project in a different location. Uncheck Create Main Class option since we will create our own main class later. Click Finish.
Creating a New Package
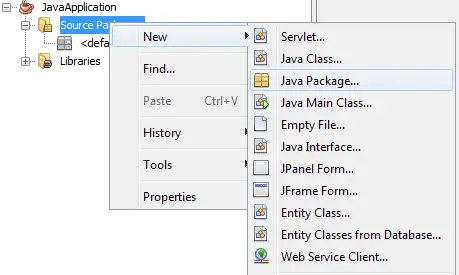
A package is just a folder of related classes. It was used so that the project is organized and the java classes can be found easily. It is like in Windows, for example, the My Documents folder contains your document files, the My Picture folder contains pictures and the My Music folder contains your music files. In creating a package, dot (.) was used to separate the folders. For example, com.javapointers.javacore can be found in your projects folder/com/javapointers/javacore. You can create a new package by right-clicking the Source Packages > New > Java Package.
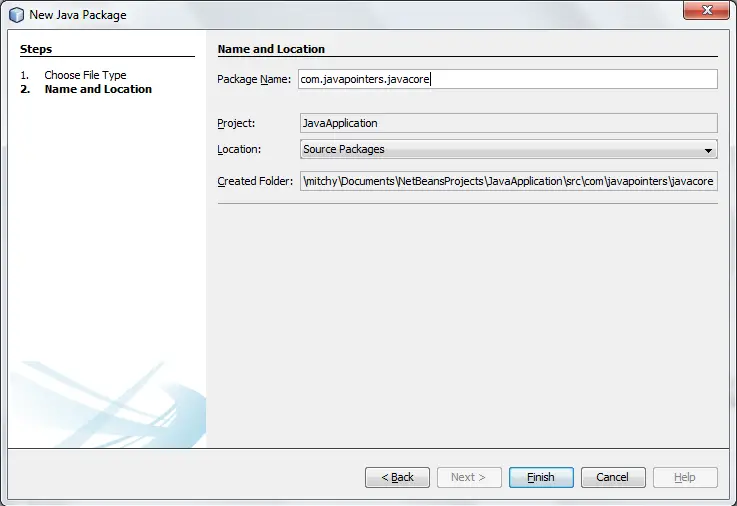
In the dialog that pops up, type your desired package name. In my case, i named it com.javapointers.javacore. Click Finish.
Creating a Class
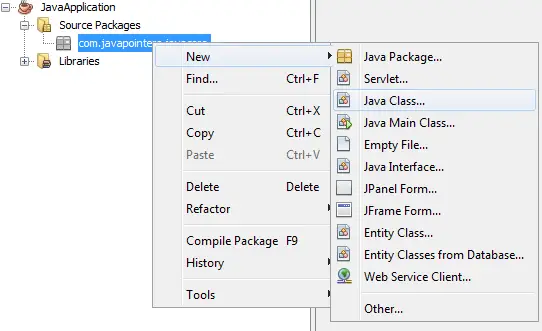
Java Classes are where you will write your codes. Create one by right-clicking your package that was created earlier > New > Java Class.
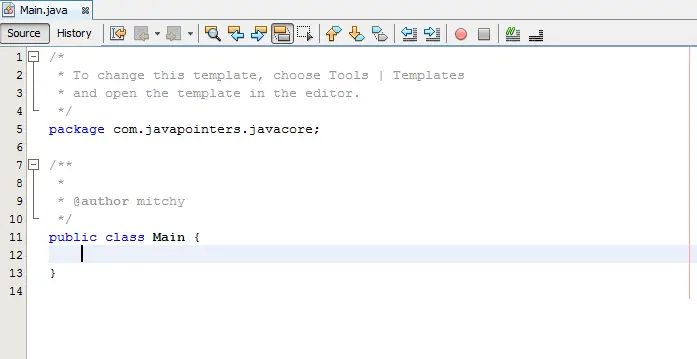
Name your class anything you want. I have named my class to Main. Click Finish and you will see the main window of your NetBeans will be like this.
Creating the Main Method
An application needs a main method which will be the entry point of the program. For the rest of the tutorial, you will be required to create a main method in order for your application to run. The main method signature is like this:
public static void main(String[] args){
//logic here
}
Take note that your main method should be inside the curly braces {} of your class.
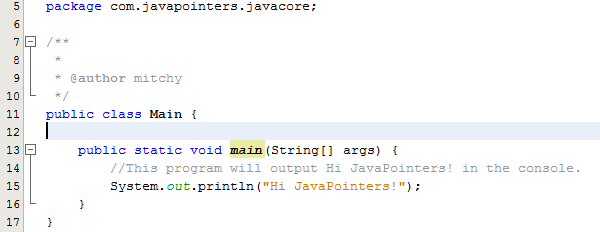
To finish this guide, we will print a string in the console. In order to do this, we will use the System.out.println() method. This was the very basic method and you may encounter this method for the rest of the trails. Let’s try to output some string in the console. Copy the code below to your project:
public static void main(String[] args) {
     //This program will output Hi JavaPointers! in the console.
     System.out.println("Hi JavaPointers!");
}
Your class should look something like this:
To run the program, hit F6 on your keyboard or right-click and choose Run. In case it asked for the main class, try first SHIFT + F6.
At the lower part of NetBeans, you can see the output ‘Hi JavaPointers!’.
That’s it on getting started in Java. The next tutorial will be about Fields and Methods.